Getting Started on AWS
If you need a GPU or would like to connect remotely to a Tufts machine for work in this course, you will need to set up your environment on one of Tufts' AWS instances. All instances will be machines named aws-gpu-X, where X is an integer. For this tutorial, we will be using aws-gpu-1. During the semester you may want to get set up on other instances in case the GPU on aws-gpu-1 is in use.
We advise students to back up all the code they write on an aws machine using private git repositories and store all project related data, like images and metadata, to /a/data. If you need to switch aws machines, it should be as easy as re-running these install steps and cloning your own git repos. Treat these machines like cattle not pets. You should be totally agnostic to which machine you are using.
Connecting to aws-gpu-1 will be just like ssh'ing to any other machine in the Tufts network. From a machine inside the Tufts CS network, you can get to aws-gpu-1 by:
ssh aws-gpu-1
Your environment will be set up the same as on the Tufts network, but none of the data in your home directory has been copied over to the AWS machines.
If you want to ssh directly to the aws machines from home, I suggest using this:
ssh <username>@aws-gpu-1.eecs.tufts.edu
Once you are on an aws machine, you can install all python dependencies and deep learning libraries. First, clone the course repository to get the convenient setup scripts we've written for you.
git clone https://github.com/comp150DL/comp150dl.git
cd comp150dl
cd bin
For this course, you will be using Python and many Python libraries. In order to manage all the packages you will be installing, we will be using a tool called virtualenv and some extensions to that tool
virtualenvwrapper. Virtualenv is used in development to isolate the python environment you will use for one project from both the system python environment and environments for other python projects that have contradicting requirements. The start up scripts we provide will set up your virtualenv for this class.
Note: virtual environments install all python packages in a user specified location. In our install scripts, we create that location at ~/Envs. If you would like your virtualenv created in a different location, please open up the install script and change ~/Env to wherever you like.
Installing Jupyter, Caffe, Tensorflow, and/or Torch
To make your virtual environment and install all related Python packages and deep learning libraries, run the following commands. Note that install may take more than an hour. If you are not interested in using either Caffe, Tensorflow, or Torch, go into the script start-install and comment out the instructions for installing whichever one(s) you don't want.
chmod +x start-install
./start-install
To gain access to all of the python packages you've just installed, you will have to activate your virtualenv. To do that run:
workon deep-venv
If you are using an excellent shell like zsh or an ok shell like bash, you will probably see your terminal prompt prepended with (deep-venv) while you are in you virtualenv.
If you would like to switch to another virtualenv, or get out of deep-venv for any reason, use the following command:
deactivate
Getting to your Homework
AWS machines should be run in a headless fashion. To run a Jupyter notebook hosting your homework, you will have to do a couple extra steps compared to running it at home.
First, clone the first assignment's repository. Then start a notebook server that listens on a publically accessible port. These startup arguments will allow you to run the notebook as a webserver that you can connect to from any browser.
workon deep-venv
cd ~/comp150dl
git clone https://github.com/comp150DL/hw1.git
cd hw1
jupyter notebook --ip=10.20.1.6 --port=3000
Pick any port number between 3000-4000. Those are the publically accessible ports set by the sysadmin. Some port numbers may be in use by other students, so just cycle through until you find a free one. The notebook server will print out slightly different instructions that if you did this without the ip and port arguments. This notebook server expects you to connect remotely, and log in with the unique token it has printed in the last line of the output. If you open up a browser window on your home machine and navigate to http://aws-gpu-1.eecs.tufts.edu:3000/ you will be asked to enter a token. This token is printed in the terminal where you started the notebook server.
% jupyter-notebook --ip=10.20.1.6 --port=3000
[I 21:00:26.990 NotebookApp] Writing notebook server cookie secret to /run/user/38554/jupyter/notebook_cookie_secret
[I 21:00:38.452 NotebookApp] Serving notebooks from local directory: /a/h//comp150dl
[I 21:00:38.452 NotebookApp] 0 active kernels
[I 21:00:38.452 NotebookApp] The Jupyter Notebook is running at: http://10.20.1.6:3000/?token=22bef6872a850da17af9ea33073232b89639a36e03547a07
[I 21:00:38.452 NotebookApp] Use Control-C to stop this server and shut down all kernels (twice to skip confirmation).
[W 21:00:38.452 NotebookApp] No web browser found: could not locate runnable browser.
[C 21:00:38.452 NotebookApp]

    Copy/paste this URL into your browser when you connect for the first time,
    to login with a token:
        http://10.20.1.6:3000/?token=22bef6872a850da17af9ea33073232b89639a36e03547a07
Your browser window should be displaying something like this:
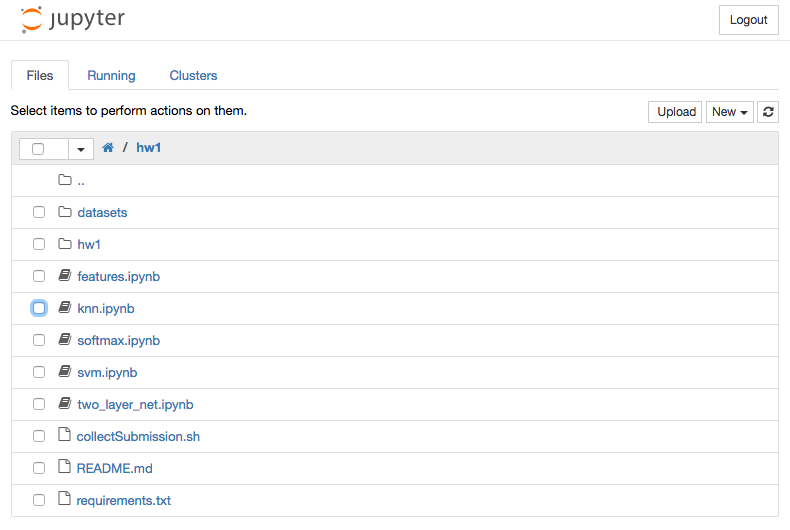
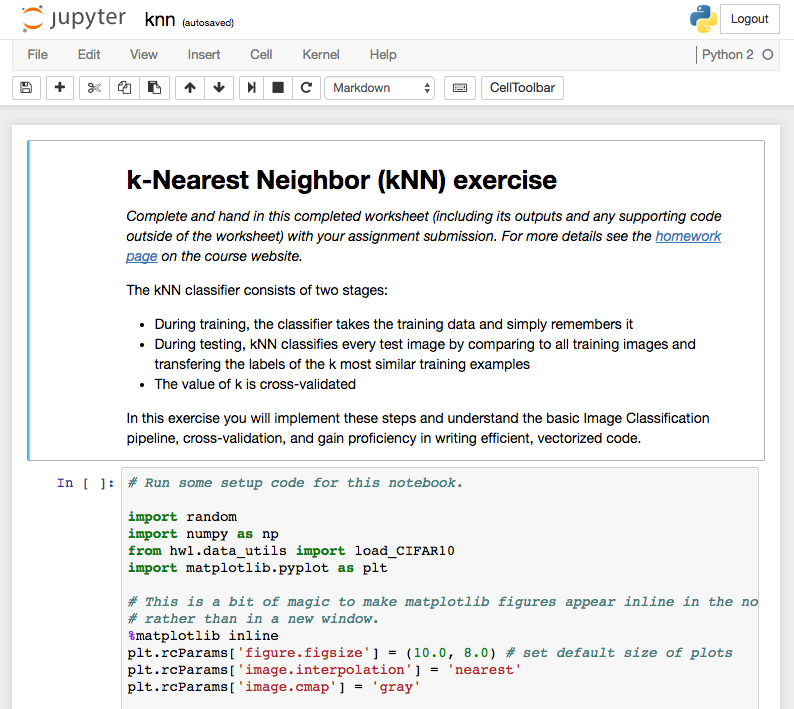
If you click on the file knn.ipynb, a new window will open up with your first problem set.