Getting Started with Virtualenv
For this course, you will be using Python and many Python libraries. In order to manage all the packages you will be installing, we will be using a tool called virtualenv and some extensions to that tool
virtualenvwrapper. Virtualenv is used in development to isolate the python environment you will use for one project from both the system python environment and environments for other python projects that have contradicting requirements.
At Home
For the homeworks, you will be writing your own classifiers and networks in python. We have written some helpful scripts for setting up your virtualenv and downloading all required dependencies. To begin, please clone the course repository.
git clone https://github.com/comp150DL/comp150dl.git
cd comp150dl
cd bin
Installing Only Python Requirements
For the homeworks, the only requirements are an array of python packages. For your own work implementing papers read in class or in your final project, you may want to use a deep learning library. To train full-scale netowrks, it is advisable to use a GPU. If you do not have a GPU on your home machine, you may want to only install the requirements for the homeworks. If you want to install only the homework requirements on your home machine, please use the start-pythondeps-only install script. If you would like to also install Caffe, TensorFlow, and/ or Torch, please see below.
Note: virtual environments install all python packages in a user specified location. In our install scripts, we create that location at ~/Envs. If you would like your virtualenv created in a different location, please open up the install script and change ~/Env to wherever you like.
To create your virtualenv: run the following commands from the comp150dl/bin directory.
chmod +x start-pythondeps-only
./start-pythondeps-only
Now you have created a virtualenv called deep-venv! To get started with your virtualenv, skip down to "Using Your Virtualenv".
Also Installing Caffe, Tensorflow, and/or Torch
We will be using the script start-home to install all python-related dependencies as well as Caffe, TensorFlow, and Torch. If you don't need all of those libraries, edit start-home to only install the ones you want.
If you are interested in installing Caffe for OS X or Linux, please look in
osx_caffe_Makefile.config and change the environment variables to ones suitable for your installation. You may need to change the line reading BLAS := atlas to whichever version of BLAS you have installed. Also be sure to have CUDA installed, and have the path to the CUDA files in the osx_caffe_Makefile.config.
To install everything, run the following commands. Note that install may take more than an hour.
chmod +x start-home
./start-home
Using Your Virtualenv
To gain access to all of the python packages you've just installed, you will have to activate your virtualenv. To do that run:
workon deep-venv
If you are using an excellent shell like zsh or an ok shell like bash, you will probably see your terminal prompt prepended with (deep-venv) while you are in you virtualenv.
If you would like to switch to another virtualenv, or get out of deep-venv for any reason, use the following command:
deactivate
Getting to your Homework
Now that you have all dependencies installed, you probably want to get to your homework. To get your first assignment and start your Jupyter notebook, you can use the following commands:
workon deep-venv
cd ~/comp150dl
git clone https://github.com/comp150DL/hw1.git
cd hw1
jupyter notebook
Running that last command will probably start a browser instance with your Jupyter notebook home directory. At the terminal, you will see output like this:
% jupyter notebook
[I 17:25:30.688 NotebookApp] The port 8888 is already in use, trying another random port.
[I 17:25:30.759 NotebookApp] Serving notebooks from local directory: /Users/<username>
[I 17:25:30.759 NotebookApp] 0 active kernels
[I 17:25:30.759 NotebookApp] The IPython Notebook is running at: http://localhost:8889/
[I 17:25:30.760 NotebookApp] Use Control-C to stop this server and shut down all kernels (twice to skip confirmation).
If a new browser window didn't pop-up, you can open your favorite browser and navigate to http://localhost:8889/. You should see a page like this:
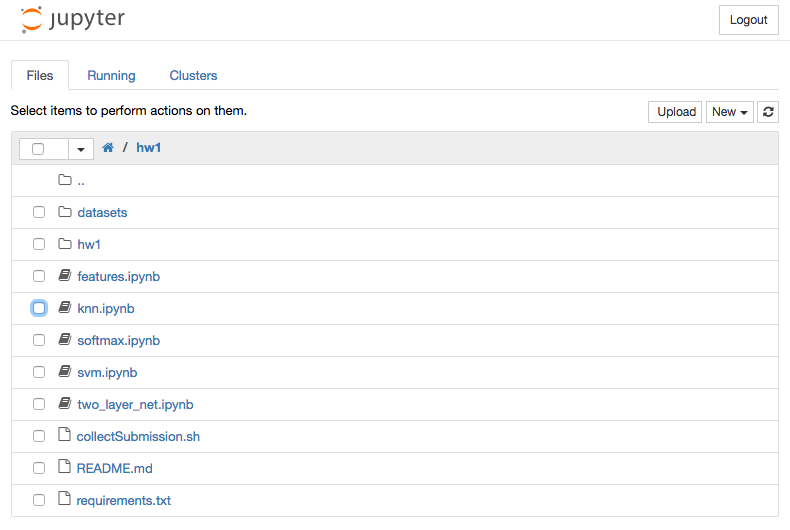
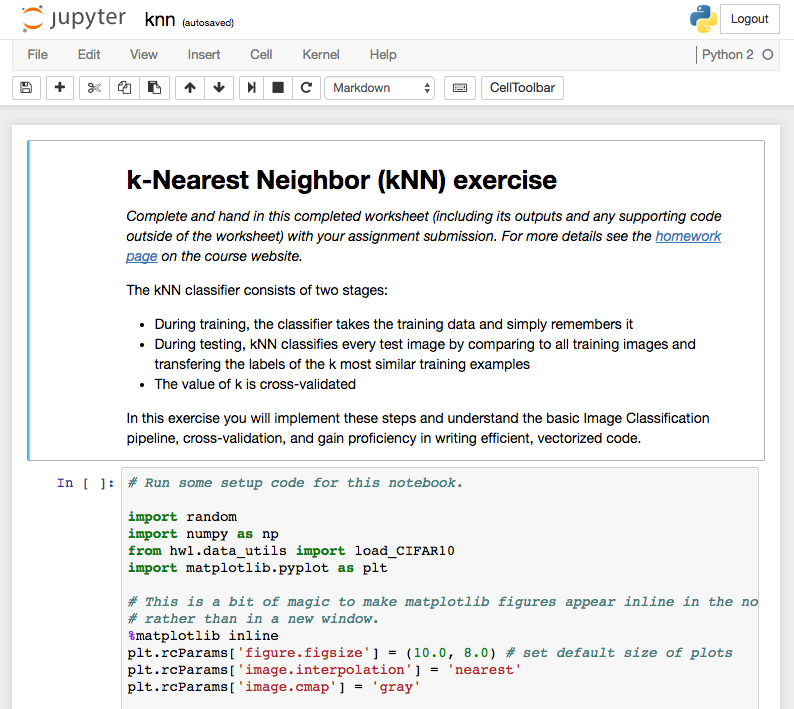
If you click on the file knn.ipynb, a new window will open up with your first problem set.
At Tufts (AWS)
If you don't have access to a GPU and would like to begin development on your final project or any full-scale network training for this course, you can use any of the available AWS machines connected to the Tufts network. Please follow this tutorial for getting started on aws.